How to Prepare
You need a Charcoal grill or smoker
You will need natural, un-soaked lump charcoal, which is made from big chunks of hardwood or our Professional Restaurant grade charcoal. This burns very clean, and has less ash flyaway than briquettes.
Do not use lighter fluid, presoaked charcoal briquettes or lumps.
Start by lighting your charcoal as you normally would. For detailed instruction on the bag you’re using.
When your charcoal is ready to go, blow out any excess ash with a fan or blow-dryer (yes, the one you use for hair!) This will also keep your coals hot and going strong. Be careful and make sure that there is no one in the direction you are blowing, that there is nothing flammable in the direction you are blowing the ash, and please try to blow with the direction of the wind to avoid blowback.
This form of grilling is as old as humankind itself. Back before man invented grill grates or gridirons or even sharpened sticks for making shish kebabs, people cooked foods in the fire. Literally in the fire. Precisely, right in the coals. They laid root vegetables or meat directly on the embers and let the radiant heat of the coals do the cooking. When the food was ready, the ashes were brushed off. Barbecue was born. I like to call this primitive kind of grilling “caveman style.”
Let’s Get Clinching!
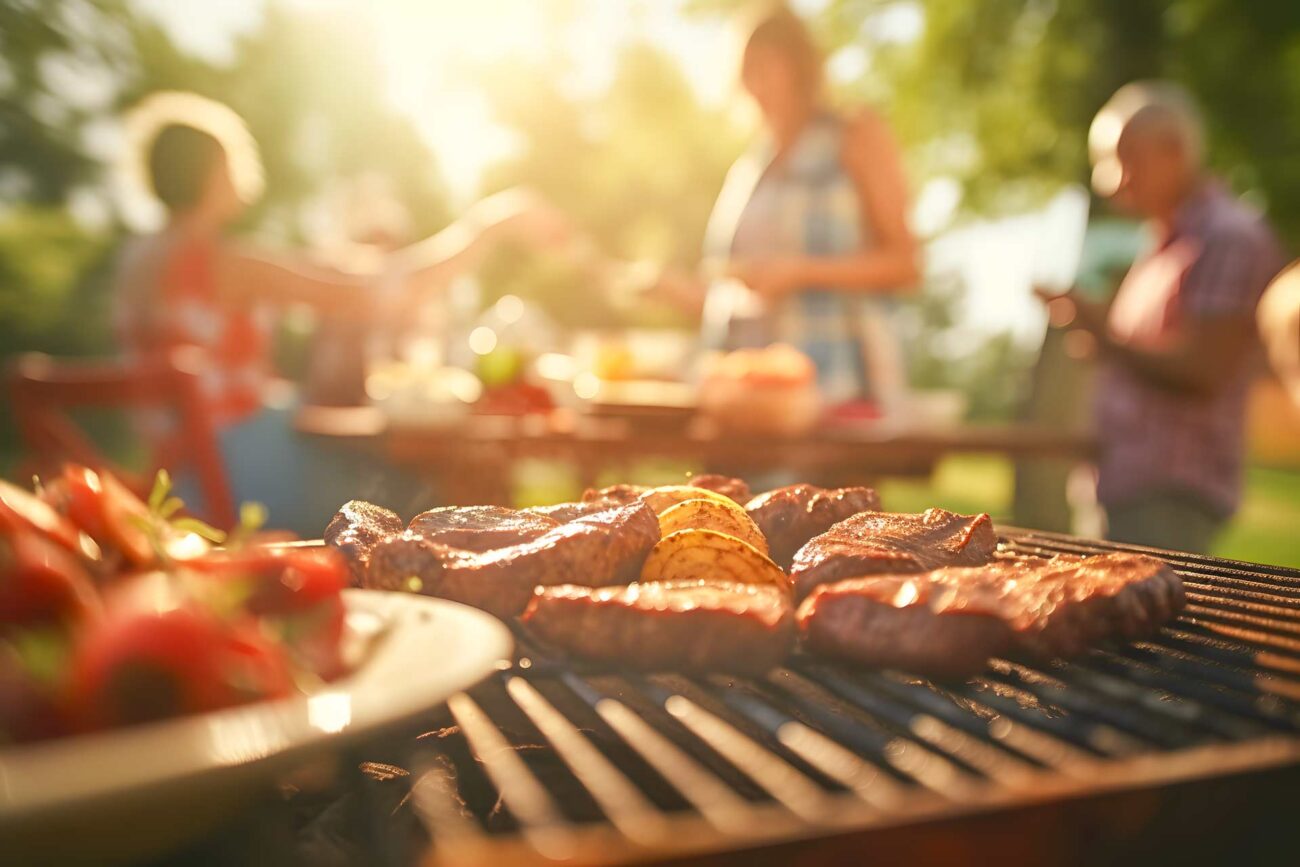
Season your meat as you normally would, and add a thin layer of olive oil onto both sides. The most common and by far the most famous type of meat for clinch grilling is any thick-cut steak or cut of beef. This includes Filet Mignon, Strip Loin, Porterhouse or T-bone, Ribeye and Sirloin. When grilling Fish, Salmon is also a popular choice.
Clinching is a fast process, and requires only 2 to 5 minutes to achieve the maximum flavour and temperature of your meat. This is due to the close proximity of the meat to the coals. Believe it or not, it actually provides a more even cooking temperature to clinch your meat, than to grill it 5 or 6 inches above heat because of the smoke and constant air flow between the embers. Also, there is no grate to hold in heat and add to the temperature.
Remove your meat, lightly brush off any ash (it won’t hurt !) and let it rest for a few minutes. This wil help the meat rest and absorb all the yummy juices. Serve and enjoy the smokey goodness!
Tip: For really picky eaters, you can place a grate directly on the coals to avoid ash contact.
Although I’m willing to grill just about anything in the embers, the most likely candidates are steak (my favorite), large in-the-shell shrimp, and root vegetables—potatoes, beets, turnips—and at least one fruit, the breadfruit, which is the traditional accompaniment to jerk in Jamaica. But any vegetable with a protective skin or husk can be charred in the embers, including whole onions, eggplant (cooked in this fashion, they make killer baba ganoush), corn, and chile and bell peppers.
When you grill vegetables or fruit in the embers, you sacrifice the skin; the blackened exterior is easy to remove with a paring knife, heatproof gloves, or a stiff-bristled brush. The charring imparts an incomparable smoke essence to the interior. Ember-charred sweet potatoes, for example, have a depth and complexity you’d have never dreamed possible. One of the virtues of grilling in the embers, especially for fledgling cooks, is that the food not only can, but should be burnt.
Vegetables should be cooked until the outside is as black as coal. When you pull a potato or pepper out of the fire, it may still be hot enough to set a paper towel or plate on fire. Use tongs to transfer hot food to an aluminum foil tray or heatproof platter and let them cool slightly. Brush off any excess ash with a stiff-bristled brush, and your good to go.
Your fireplace hearth is also a splendid place to roast on the embers. It will give you a whole new appreciation for charred foods.